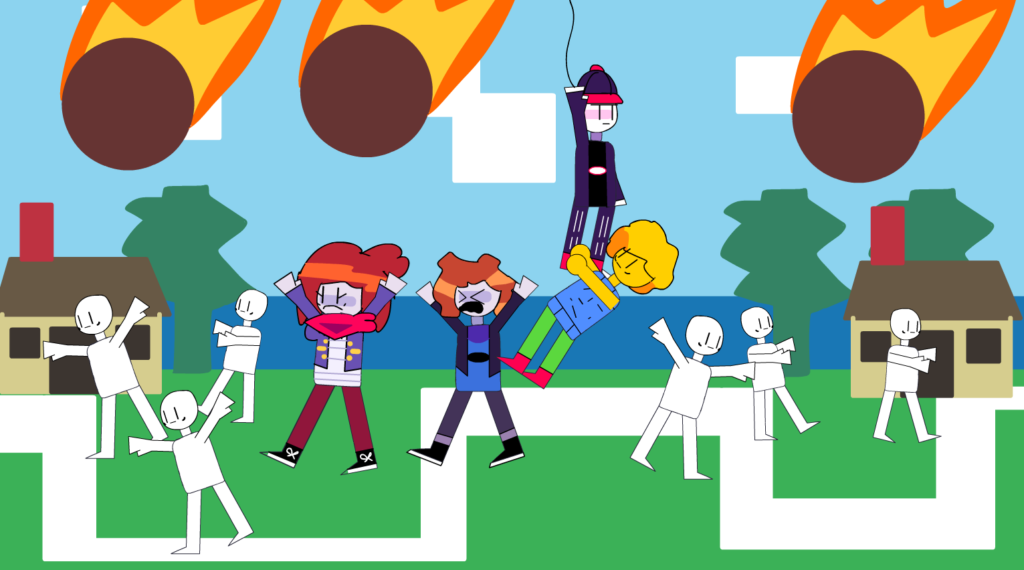
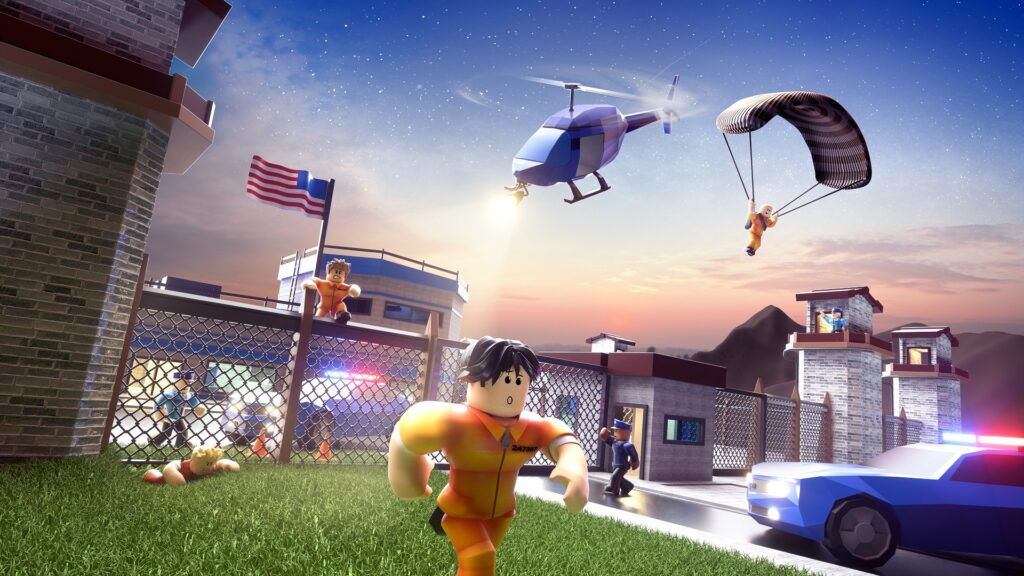
Roblox is one of the most popular game development platforms, allowing users to create and share their own games with millions of players worldwide. If you’ve ever wanted to develop your own Roblox game, this guide will help you get started.
Step 1: Install Roblox Studio
Before you can create a game, you need to install Roblox Studio, the official development tool for Roblox.
- Go to Roblox Studio
- Click “Start Creating”
- Download and install the software
- Open Roblox Studio and log in with your Roblox account
Step 2: Choose a Game Template
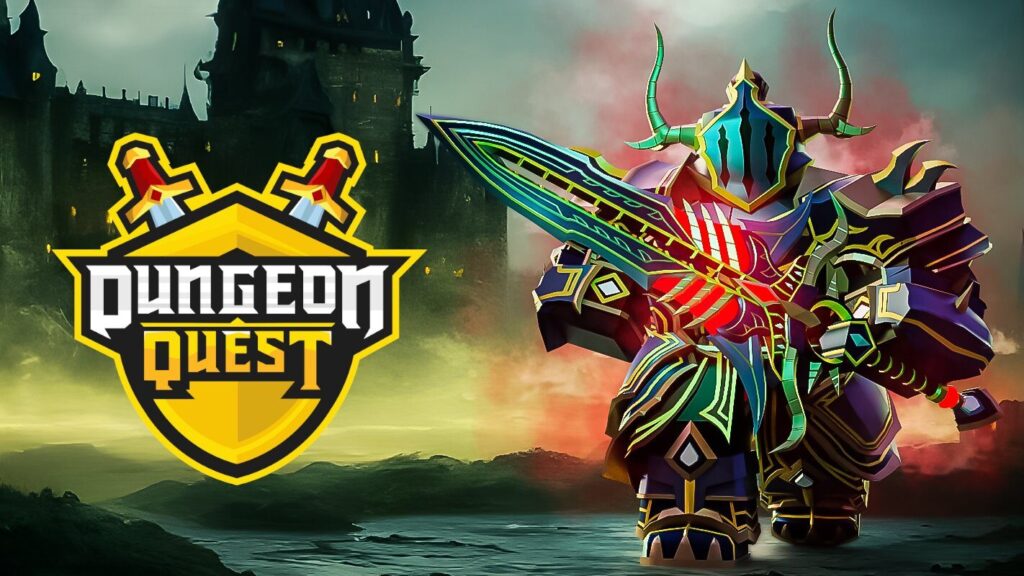
Roblox Studio provides various templates to help you start quickly. You can select from templates like Obby (Obstacle Course), Racing, or a Baseplate for a completely custom experience.
- Open Roblox Studio
- Click “New”
- Select a template that fits your game idea
Step 3: Learn the Basics of Scripting with Lua
Roblox games use Lua as the scripting language to add interactivity and mechanics. To begin scripting:
- Open the Explorer and Properties panels (View > Explorer and View > Properties)
- Right-click on “StarterPlayerScripts” or another game object to insert a new script
- Write simple scripts, such as:
print("Hello, Roblox!")
- Press “Play” to test your script
Step 4: Build Your Game World
Use Roblox Studio’s built-in tools to create your game world:
- Terrain Editor: Create mountains, lakes, and landscapes
- Parts & Models: Add objects like platforms, buildings, and decorations
- Lighting & Effects: Adjust the atmosphere of your game
Step 5: Add Game Mechanics
To make your game interactive, you’ll need to add mechanics such as player movement, checkpoints, or collectibles. Here’s an example of a simple script to make an object disappear when touched:
local part = script.Parent

part.Touched:Connect(function(hit)
    local character = hit.Parent
    if character and character:FindFirstChild("Humanoid") then
        part:Destroy()
    end
end)
Step 6: Test Your Game
Before publishing, always test your game to ensure everything works correctly. Click Play in Roblox Studio to enter the game and check for bugs.
Step 7: Publish Your Game
Once your game is ready:
- Click File > Publish to Roblox As…
- Give your game a title and description
- Set game permissions (public or private)
- Click Create
Now, your game is live and can be played by others!
Final Tips
- Join the Roblox Developer Hub: Get access to tutorials and a helpful community
- Experiment with Plugins: Extend Roblox Studio with extra tools
- Learn Advanced Scripting: The more Lua you learn, the better your games will be
By following these steps, you’ll be on your way to creating amazing games on Roblox. Happy coding!